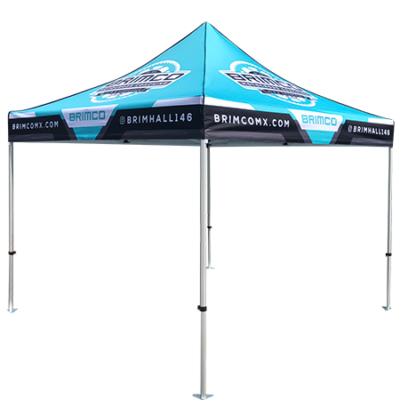
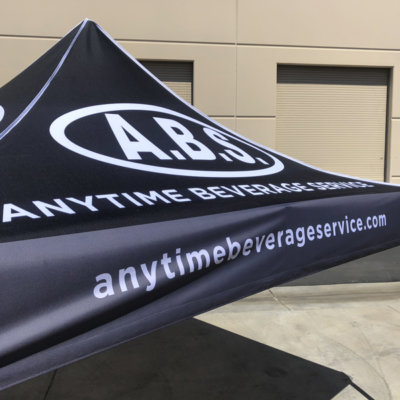
Free Mini Taco Truck Wrap Design Template
 When we discovered these awesome little taco trucks from Mega Toys, the first thing that came to mind was how awesome of a marketing tool it could be. We would just throw a mini vehicle wrap on them, and boom! There really isn’t anything better then a mini taco truck with your companies graphics for a good laugh. It’s guaranteed to put a smile on anyone’s face. Rather then keep these little toys all to ourselves, we decided to make a precision design template and give it to the world for free.
You can flame your taco truck, vintage it, make it clean or do whatever you want to promote your business. These also work as great gifts to your clients as a memorable item with their own branding applied. Your clients will love you, your potential clients will be impressed, and these trucks make for great conversation.
Find out how to get your own taco truck and start promoting your business in a BIG.. but little way below.
Step One: Buy your Taco Truck

These trucks are amazingly cheap.. In fact- You can get them for under 15$. All you have to do is visit the Mega Toys website and shoot them an email requesting pricing. Yup.. It’s that simple. We ordered a case full and had them the next day. They come equipped with some generic graphics.. but we will change that. While you wait for delivery, you can design your graphics and have them ready to go upon delivery.
Oh! Don’t forget to tell them Awthentik® sent you! :wink wink:
![]()

Step Two: Design your Super Graphics

Here comes the fun part.  Download our free template which includes an overlay and fully labeled print and cut lines that were precisely measured to fit your taco truck. We have wrapped a bunch of these things already and it fits dead on. Inside the template you will find all of the layers have descriptions to make your life easy.
Design in the “Insert Art Here” layer and when you are finished with your design, simply turn off the overlay and save it for your printer. At this point, you should know how to use the print & cut setup for your particular rip software. If not.. We can print your graphics and ship them to you as well. Inquire on our contact page.
Be sure to adjust the cut path to your machines correct spot color and label. The taco truck template is setup with a default cut path out of the box.

Step Three: Print and Machine Cut your Graphics

For printing and cutting back when we made this tutorial, we used a Roland machine. We just save our file in EPS format, send it to Versaworks and let the Roland do the work. Since this is a little project, we printed on Oracal 3165RA which has a built in air release pattern for bubble free installation. After print, we laminated the product with Oracal 210 Matte for protection and Anti Glare. Once laminated, we simply threw it back on the machine for optical registration and precise cut contour.
After printing and cut, simply remove the excess vinyl that remains around the graphics to show your perfectly cut mini taco truck wrap. Save the little lights and handles off to the side for separate installation. You can see in the Step Three main image that we weeded them and placed to the side.


Step Four: Prepare your Taco Truck for Install

Once you receive your taco truck in the mail, you will need to unwrap it and remove the factory installed graphics. This is achieved best by peeling the graphics very slow as to leave no glue residue. At this time, remove all graphics from the taco truck and dispose of properly.
Your truck should be totally clean at this point. If you have any glue residue, some isopropyl alcohol will take the excess off. Its also a good idea to wipe down the entire surface with iso as well to promote good adhesion of your new graphics.

Rather then create a template that would cut around the roof vents, we made a pattern that cuts right around the holes in the roof. The downfall is that you will need to remove 8 little screws in order to take off the roof vents. This is simple. Start by flipping your taco truck over and removing the single battery screw and taking out the 4 batteries. Then, remove the 4 screws through the holes labeled below. Set these aside for later.

The four screws that hold the vents are located in the image below. Set these aside for later as well.

Once removed, your roof will look like this and be ready for installation. You can place the truck back together without the screws and it will still be alright for install.

OPTIONAL STEP: At this point, you can move on to step Five. If desired, since the body is all taken apart- you can paint the base of the body to your liking in order to achieve a new look. We painted one of our trucks all matte black and then the wheels as well.

Step Five: Install your Graphics

Installing your graphics is super easy since we made an awSOME template for you. Simply grab each piece and install. They only fit in ONE place, so just adjust accordingly before applying. You have some time to play, so you can always re-lift and re-apply before applying pressure. The best way to install your vehicle graphics is to simply hover them over the taco truck until you see alignment and then apply. The body lines (if left for print) match the existing body lines of the truck and can be squeegeed down the grove. The side windows are a great alignment point as well. We used a poker to apply the little handles and lights that were set aside in step three.
Note: The rear vents have pre-cut relief cuts that will drop right in place when you run your finder over them. Sweet huh?! The roof also has the corners relieved to overlap and layover themselves.


Step Six: Put it back together. Assemble Johnny 5

This comes back to step four, but backwards. Replace the roof vents 4 screws and then the 4 to hold the body together. After that, simply insert the batteries and the last little battery screw. Your almost there!
Here is the roof with the vents re-installed.

Step Seven: Front Back Side to Side Flossin

Once your truck is all back together, set it on the ground and hit the action button. Boo-YA! Front, back, side to side. Smile. You’ve taken a long but glorious journey into the world of creative marketing so pat yourself on the back.